The first time you run Disk Defrag, the process might take an extended amount of time — particularly if the drive has never been defragmented before. Disk Defrag can defragment multiple disks or partitions.
Do not defragment a flash-based drive, such as a USB flash drive or an SSD (solid-state drive). Its performance won’t improve and it might shorten the life span of the drive.
To run Disk Defrag:
1 Close all anti-virus or anti-spyware programs that are not associated with SystemSuite.
NOTE: Running anti-virus programs while Disk Defrag runs can slow defragmentation or lock files, preventing proper disk defragmentation.
2 Close all open programs, except SystemSuite. (Open files are not defragmented to prevent loss of data during a system crash).
3 On the Optimize tab, click Disk Defrag.
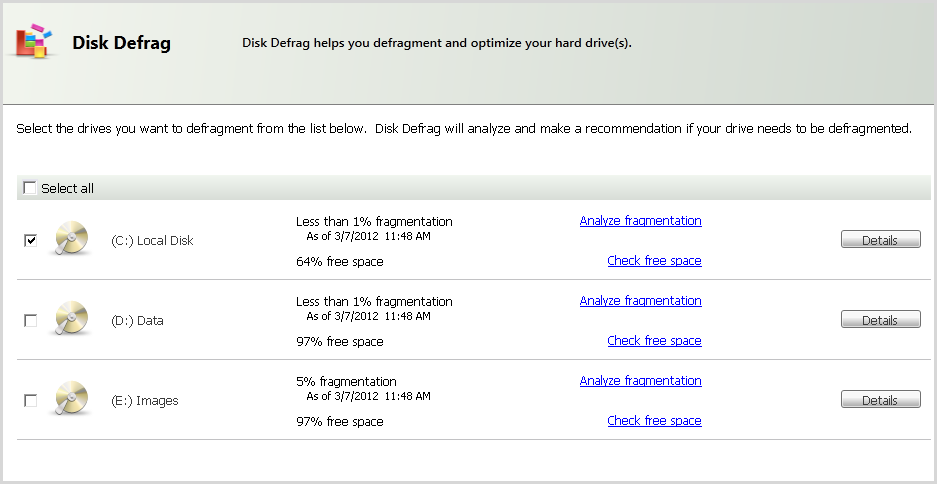
The Disk Defrag tab displays the
disk drives and related fragmentation information from the last time the
disk was analyzed.

4 Choose your next step:
§ To update and view fragmentation information, click Analyze fragmentation.
§ To update and view information about remaining free space, click Check free space.
§ To see a graphical representation of a disk’s fragmentation, click Details. You can also view detailed partition information.
Typically, a disk with a low percentage of fragmentation does not need to be defragmented.
5 On the Disk Defrag tab, select the disk or disks to defragment. To select all disks, choose Select All. Click Next.
6 Click Next and read the reminder. Click OK to close the dialog box and start defragmentation.
WARNING: Do not restart or turn your computer off while Disk Defrag is running.
Disk Defrag begins defragmenting the first drive and displays the disk changes on a color-coded disk map. View the Legend area for a description of the colors in the disk map. When defragmentation is finished, Optimization complete appears below the legend.
7 To save the results, click Save.
8 When finished, click Done.
9 Restart your anti-virus or anti-spyware programs.
See Also